Introducing Quickwit Glasskube package

You might have heard about an exciting new Kubernetes package manager called Glasskube, as they made the front page of HN last week. If not, you should take a look at what they're doing!
Several months ago, we met Glasskube's founders Philip Miglinci and Louis Weston and immediately liked their idea of replacing Helm. As many engineers, we've always had this love-hate relationship with Helm, appreciating its simplicity for easy tasks but disliking the YAML hell when building more complex deployments. Something was off, and we often wondered who would build the next-gen package manager. Add to that the wit, energy, and commitment of Philip and Louis, and you have all the ingredients to start building it. That's what they did!
In recent weeks, we decided it was time to add Quickwit to Glasskube, and today, we're thrilled to announce that Quickwit is now available through the Glasskube package manager. We are convinced this will help our community deploy Quickwit with this new package manager: the Glasskube UX is already quite good, and they're iterating on it rapidly. Glasskube uses Quickwit's Helm chart behind the scenes, and they've already added some nice features: type-safe package configuration, dependency-aware packages, and the ability to preview and perform pending updates to your desired version. We're expecting great improvements in the coming months and betting on this for Quickwit :)
Let's recap what Glasskube is exactly and show you how to deploy Quickwit with it.
Glasskube
Glasskube is a new package manager for Kubernetes. You can install, upgrade, configure, and manage your Kubernetes cluster packages with it. It provides both a UI and CLI for installing packages. It's also easy to open a PR to add a new package. Glasskube can integrate with your GitOps workflow using ArgoCD or FluxCD (the default bootstrap installation already uses a subset of FluxCD to perform installations).
Deploying Quickwit with Glasskube
Installing Glasskube
We will install Glasskube on macOS using brew on a kind cluster. On your side, you can refer to this documentation and choose the right installation options according to your operating system.
brew install glasskube/tap/glasskube # install the glasskube cli
kind create cluster # create a kind Kubernetes cluster
glasskube bootstrap # install glasskube on the kind cluster
Creating an S3-Compatible Bucket
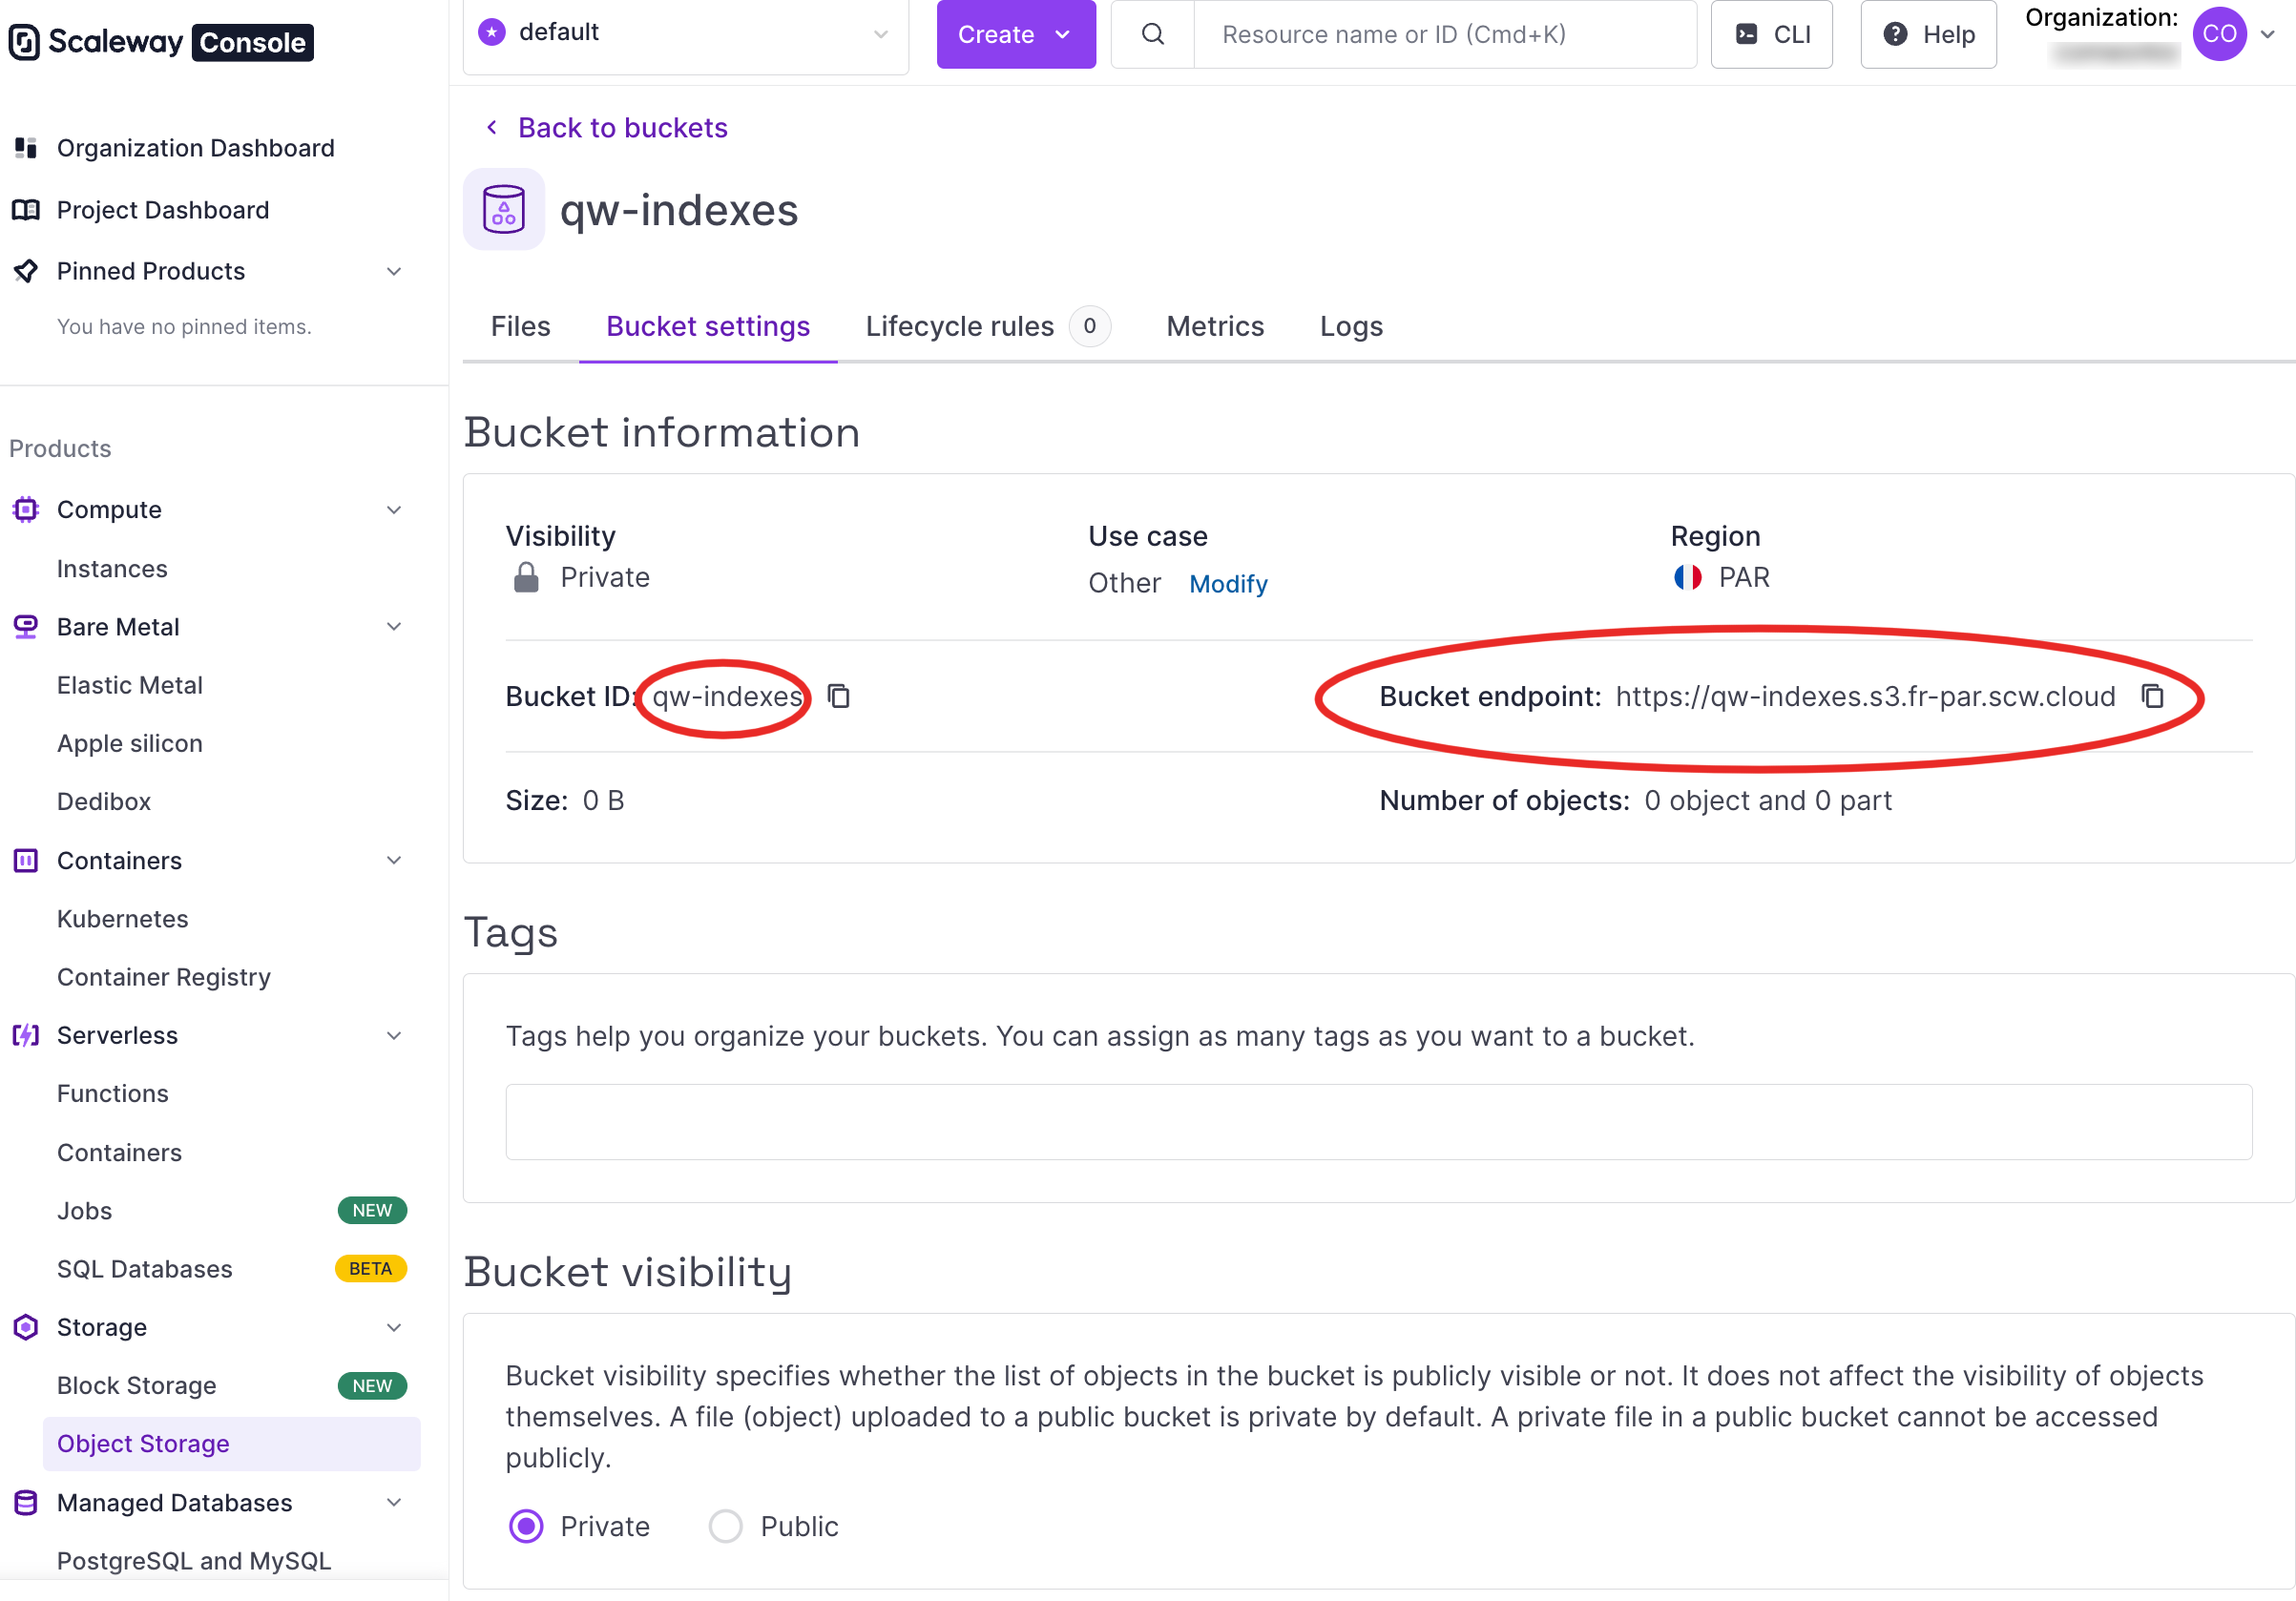
First, set up an object storage bucket to store your Quickwit indexes. For this demonstration, we use Scaleway, but similar steps apply for other providers like AWS S3 or MinIO, check out our docs:
- Navigate to your cloud provider's management console and create a new object storage bucket.
- Generate an API key, ensuring you save the 'Access Key Id' and 'Secret Key' for later use.

Deploying Quickwit Using Glasskube
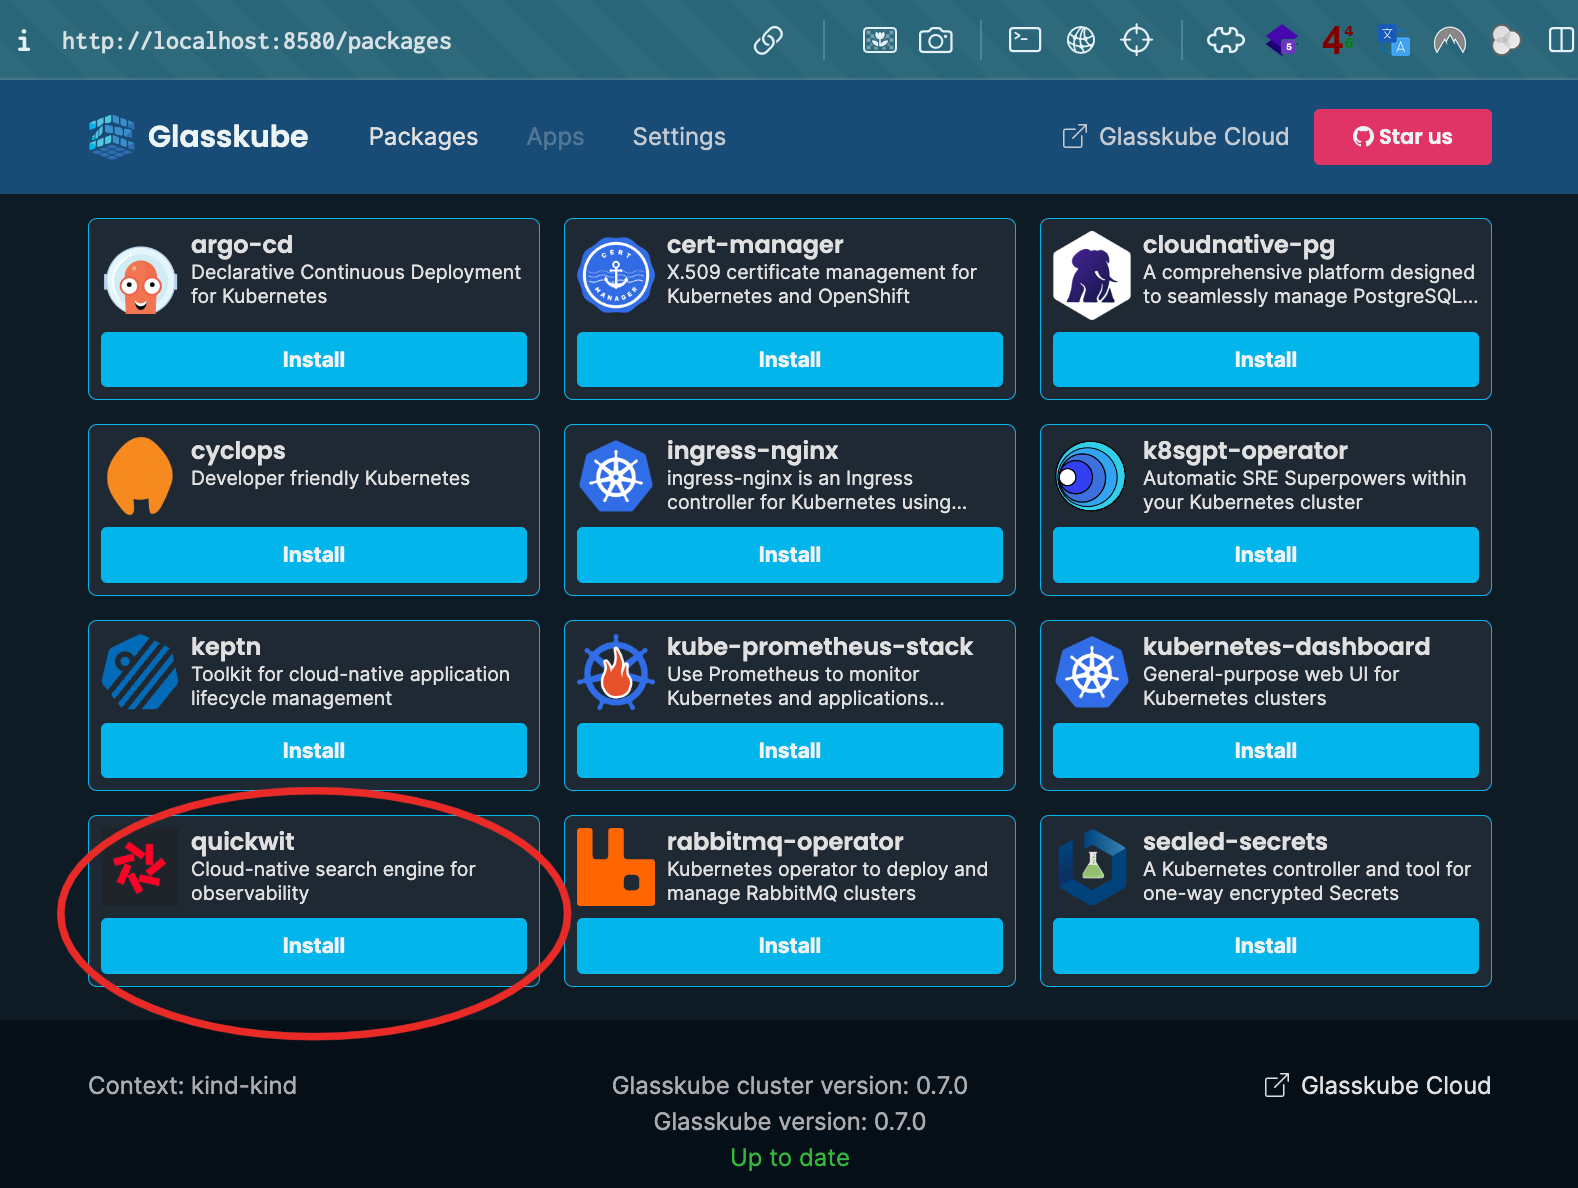
Launch the Glasskube UI to install Quickwit:
glasskube serve # Open the Glasskube UI in your browser

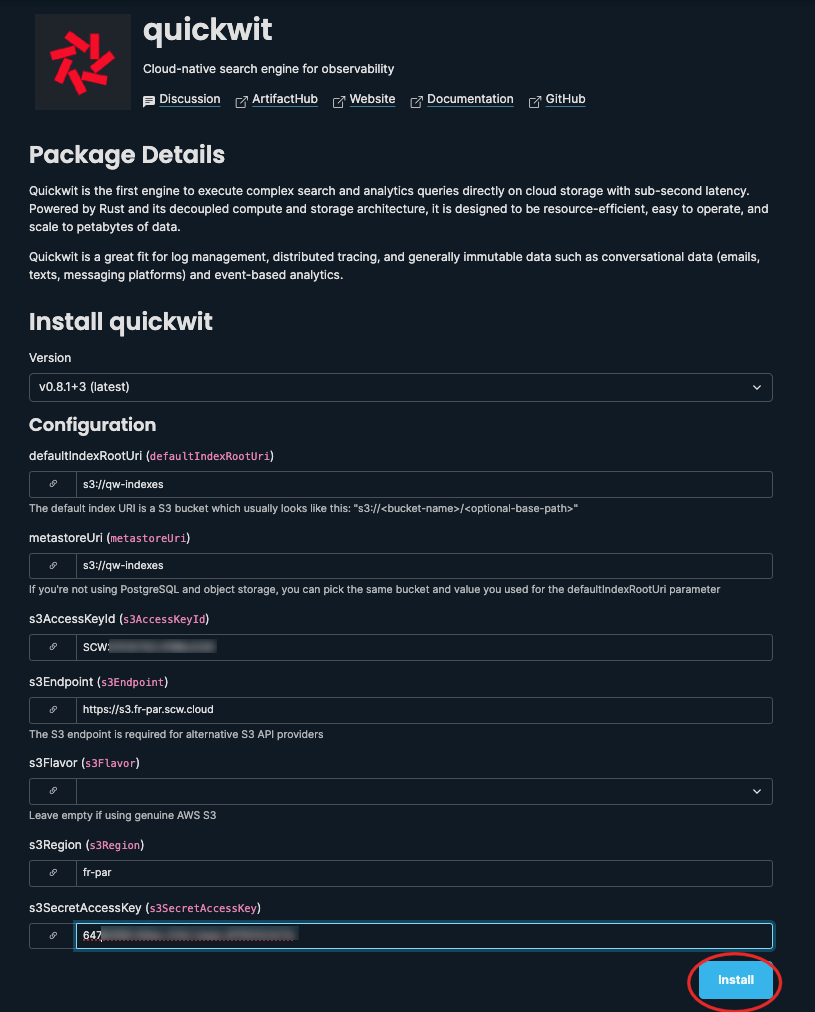
Then we have to fill this installation form:

s3Endpoint: the http(s) URL of your object storage service which should looks likehttps://s3.{region}.{your object storage domain}. In our example it'shttps://s3.fr-par.scw.cloud(we have to drop the bucket name from the URL of the object storage).s3Flavor: we are using the default empty value for genuine S3-compatible object storages3Region: here it'sfr-par(we can see it in the URL of the object storage)s3AccessKeyId: the "Access Key Id" from Scaleway we kept befores3SecretAccessKey: the "Secret Key" from Scaleway we kept beforedefaultIndexRootUri: here it'ss3://qw-indexes(the bucket name we removed from the endpoint URL)metastoreUri: we won't use PostgreSQL so let's pick the same value we used fordefaultIndexRootUri
It's also possible to install Quickwit using the CLI instead of the previous UI with the following command:
glasskube install quickwit
Then we can see that a quickwit namespace has been created:
$ kubectl get ns
NAME                 STATUS   AGE
default              Active   133m
flux-system          Active   132m
glasskube-system     Active   132m
kube-node-lease      Active   133m
kube-public          Active   133m
kube-system          Active   133m
local-path-storage   Active   133m
quickwit             Active   13m
Then, once the pod are running:
$ kubectl -n quickwit get pods
NAME                                      READY   STATUS             RESTARTS       AGE
quickwit-control-plane-5fbd896978-5fcdm   0/1     Running            7 (3m2s ago)   14m
quickwit-indexer-0                        0/1     Running            7 (3m2s ago)   14m
quickwit-janitor-5fcf6b4dcb-8p9qj         0/1     Running            7 (3m2s ago)   14m
quickwit-metastore-54f4bbf6-wt7hd         0/1     Running            7 (115s ago)   14m
quickwit-searcher-0                       0/1     Running            7 (3m2s ago)   14m
We can try to access to the Quickwit UI using the following command:
$ kubectl -n quickwit port-forward pod/quickwit-searcher-0 7280
Forwarding from 127.0.0.1:7280 -> 7280
Forwarding from [::1]:7280 -> 7280
And go to http://localhost:7280. That's it!
Uninstall Quickwit
Let's run the following command:
glasskube uninstall quickwit
Inviting Community Contributions
The Glasskube team is keen on community feedback and contributions. It's indeed possible by opening a pull request.
All the packages are provided from a YAML configuration which is doing a mapping to some helm chart values or Kubernetes yaml manifests.
Here is an example of mapping:
s3SecretAccessKey:
  type: text
  targets:
    - chartName: quickwit
      patch:
        op: add
        path: /config/storage/s3/secret_access_key
This yaml configuration is telling the UI and CLI to provide a s3SecretAccessKey input field which expect a text value and which will be set in the value file of the Quickwit helm chart as the following:
config:
  storage:
    s3:
      secret_access_key: <the UI input value>
Each time we want to change the generated value file, we have to create a new version.
At the time of writing the v0.8.1+3 is the last one and here you'll find the complete yaml mapping here.
What's next
This package manager is very promising, and even though there aren't yet all the installation options available (like setting PostgreSQL as your metastore storage), you can still implement these later using the classical GitOps approach with ArgoCD or FluxCD. We're confident that Glasskube will evolve rapidly and that the Quickwit package will soon integrate all options.
Kudos to Glasskube's team and eager to see what's coming next <3